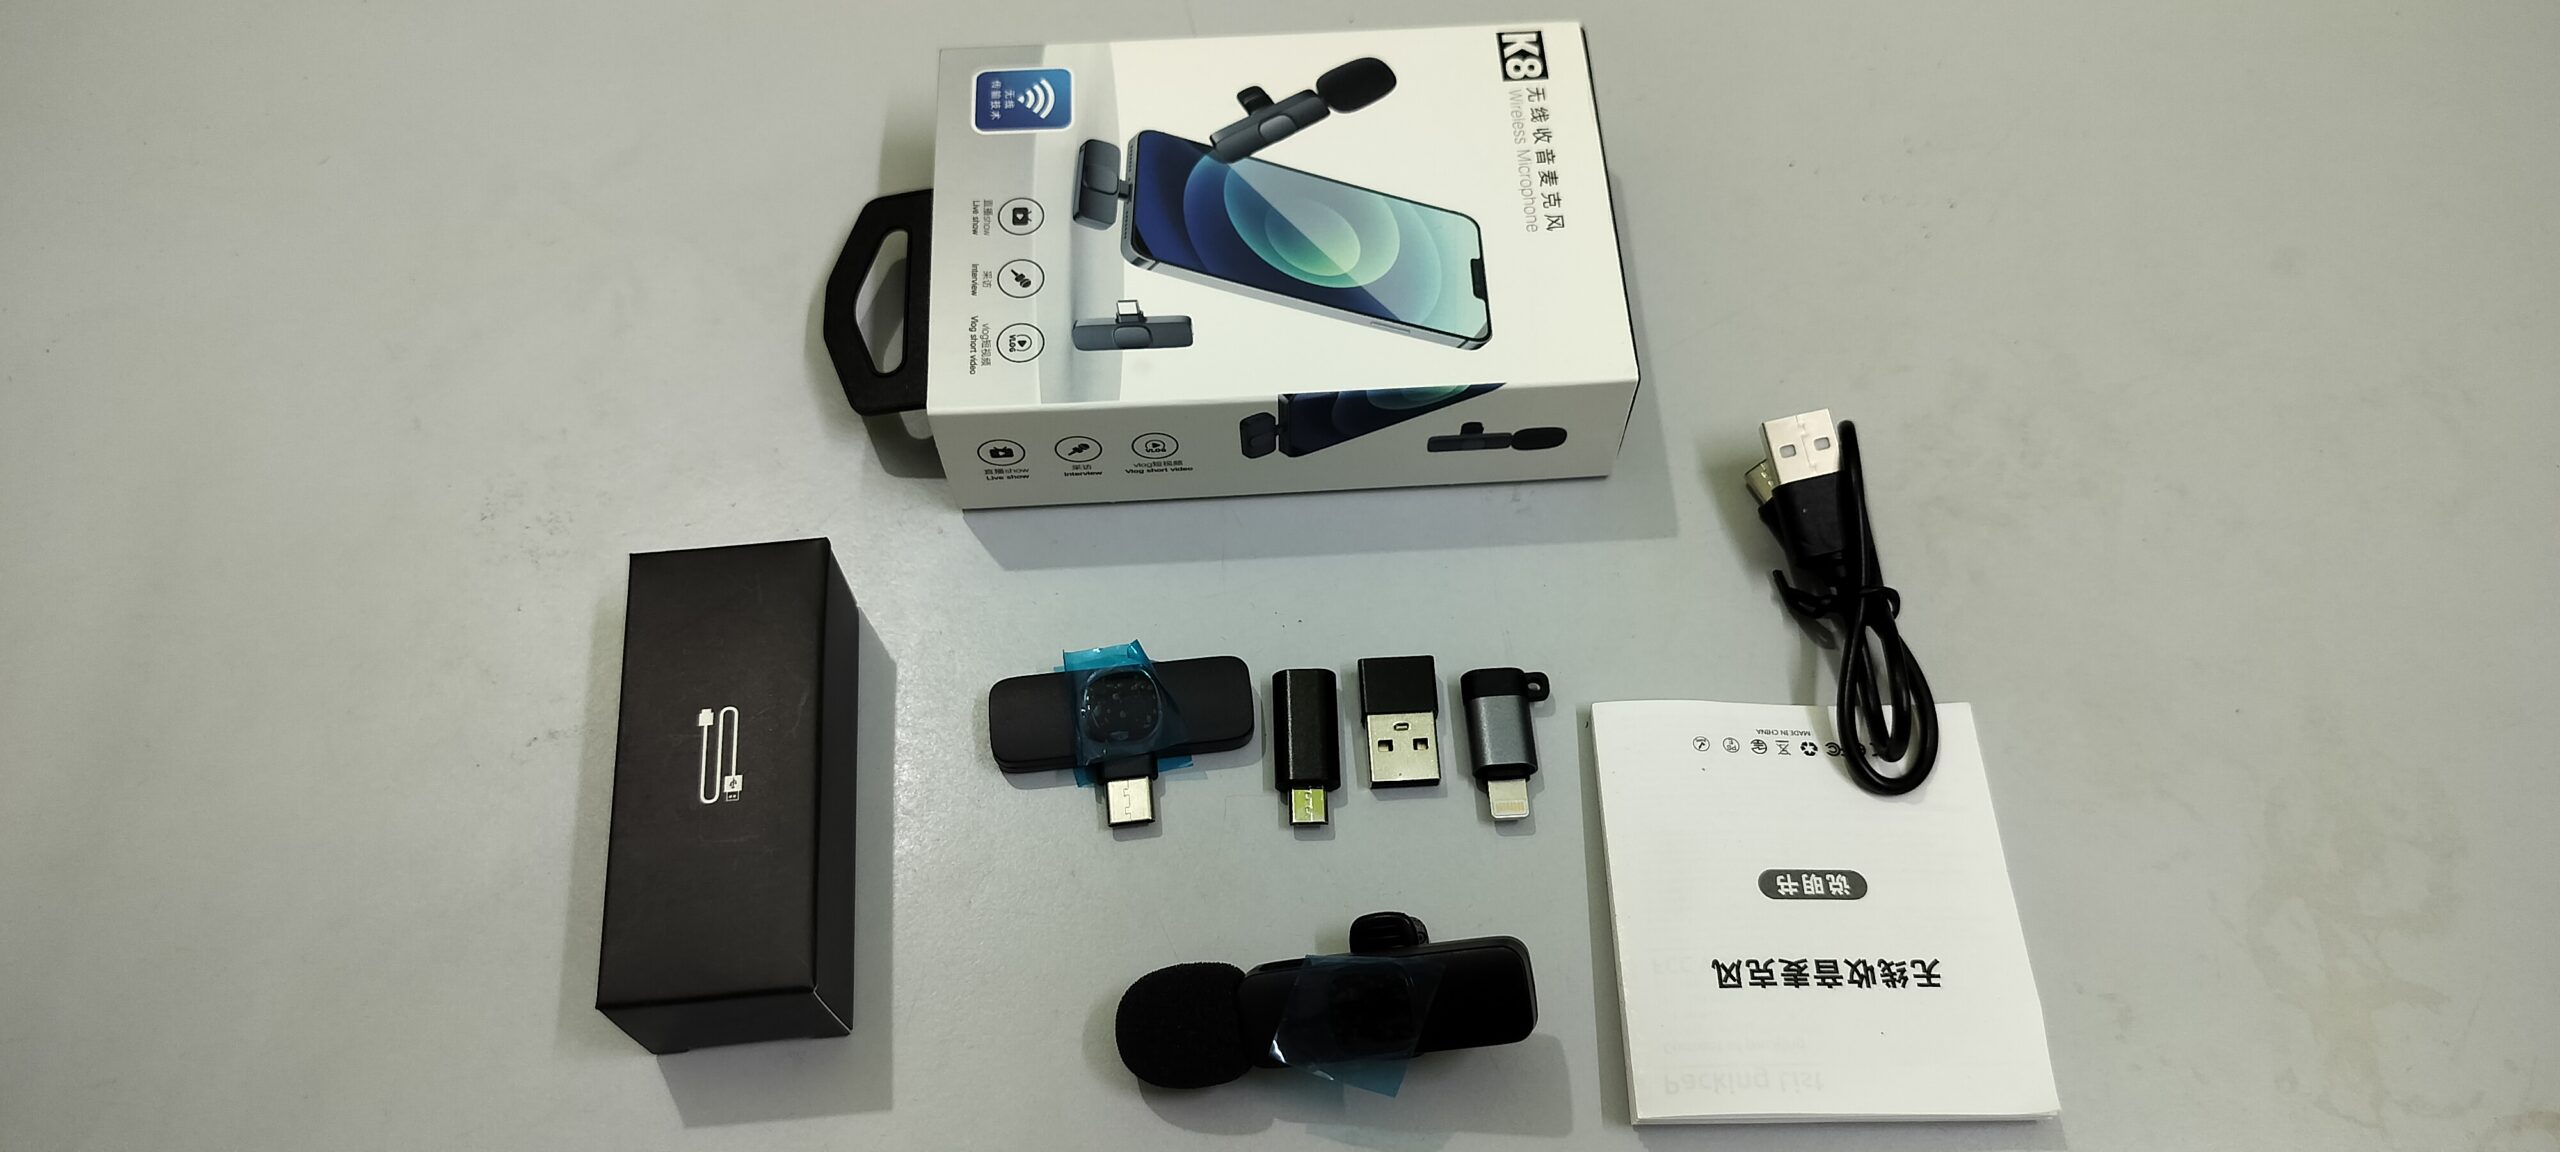
Introducing the k8 wireless microphone – the perfect choice for YouTube creators, content creators, and anyone in need of a reliable wireless mic. In this comprehensive review, we will delve into every aspect of this product to determine whether it’s truly worth investing in. Join us as we explore its features, performance, and overall value to help you make an informed decision.
Box Items:
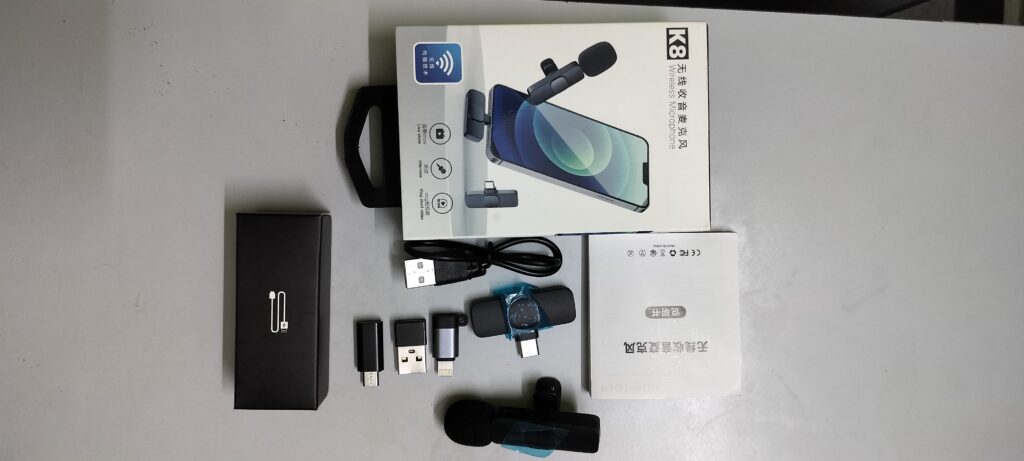
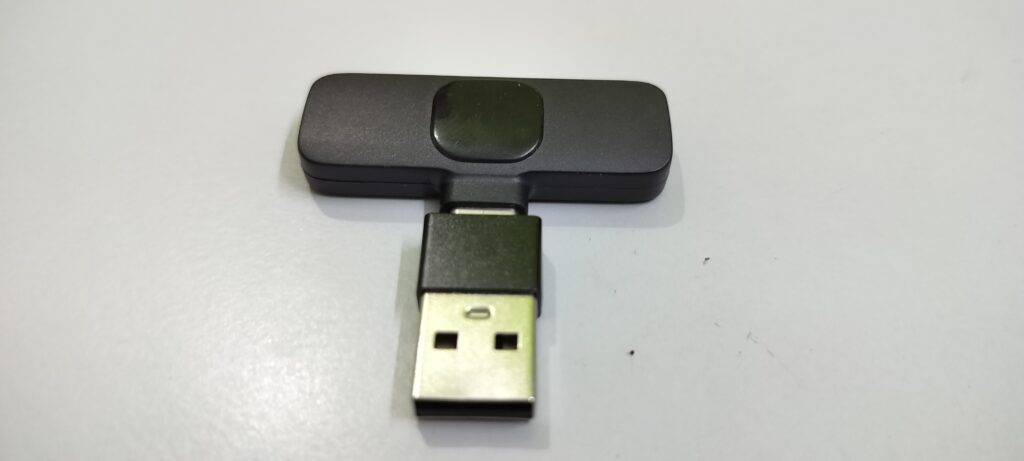
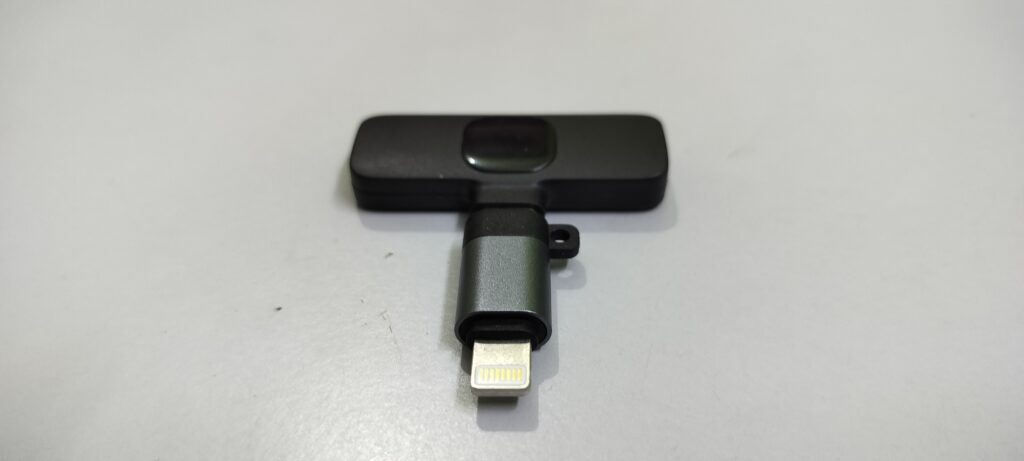
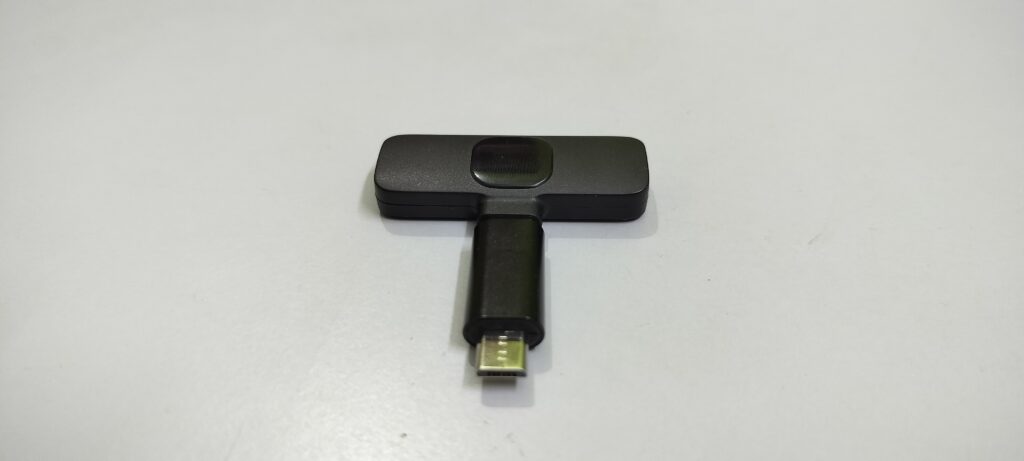
Upon opening the box, you will find a set of essential components neatly arranged inside. These include a user manual to guide you through the setup process, a microphone transmitter, a receiver, and a variety of converters, namely Type C to iPhone, Type C to USB, and Type C to Micro USB. Additionally, a type C charging cable is provided to ensure convenient power replenishment.
How to Use:
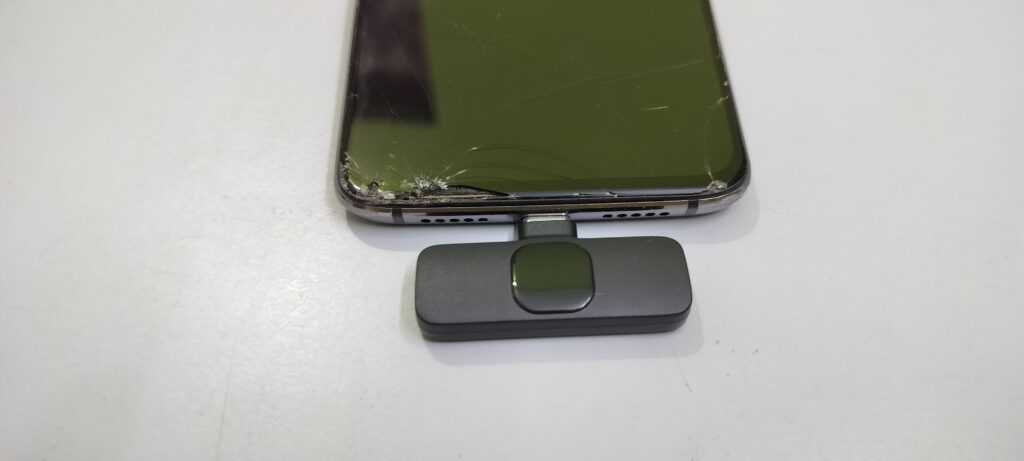
1. To effortlessly connect the receiver to your Android phone, simply insert it into the device’s USB port. In case your phone features a micro USB port, utilize the converter provided and then insert the receiver into the phone. This straightforward process allows for seamless compatibility, enabling you to start using the k8 wireless microphone without any hassle.
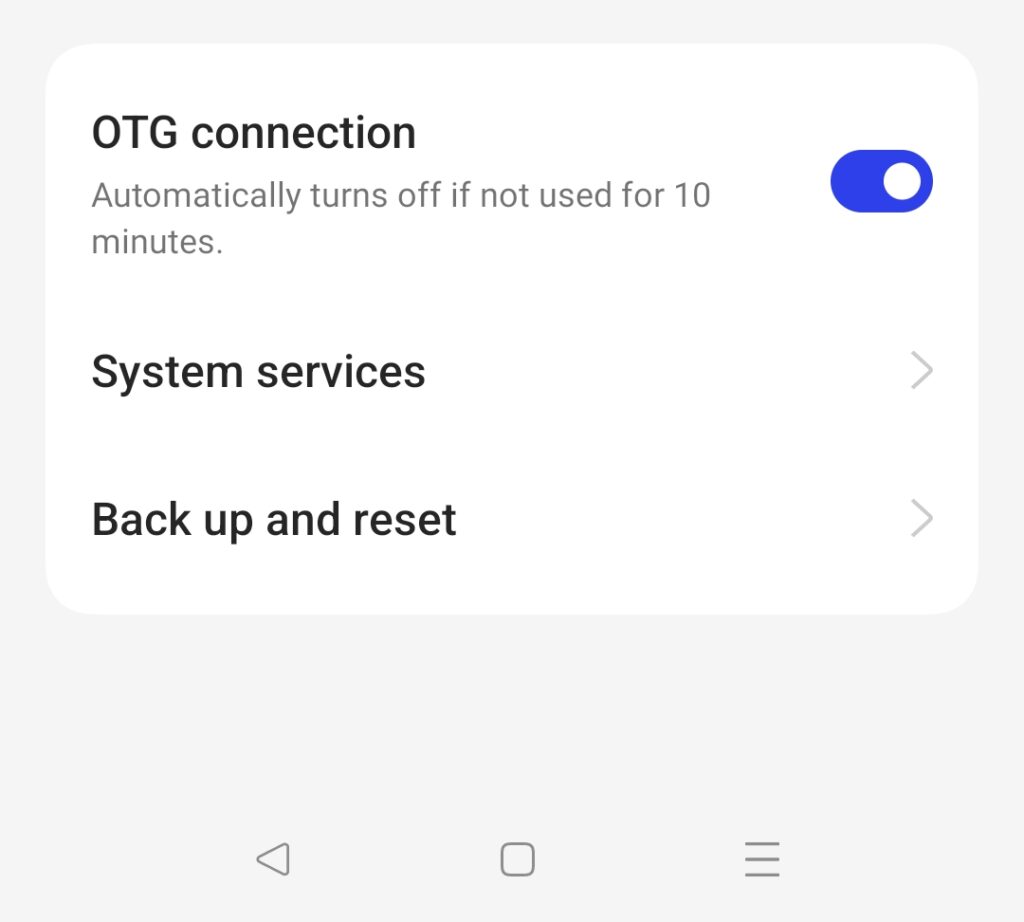
2. Next, navigate to your phone’s settings and ensure that the “OTG” (On-The-Go) option is enabled. This crucial step allows your phone to recognize and utilize external devices such as the k8 wireless microphone. By enabling OTG, you unlock the full functionality of the microphone, enhancing your recording experience and ensuring optimal performance.
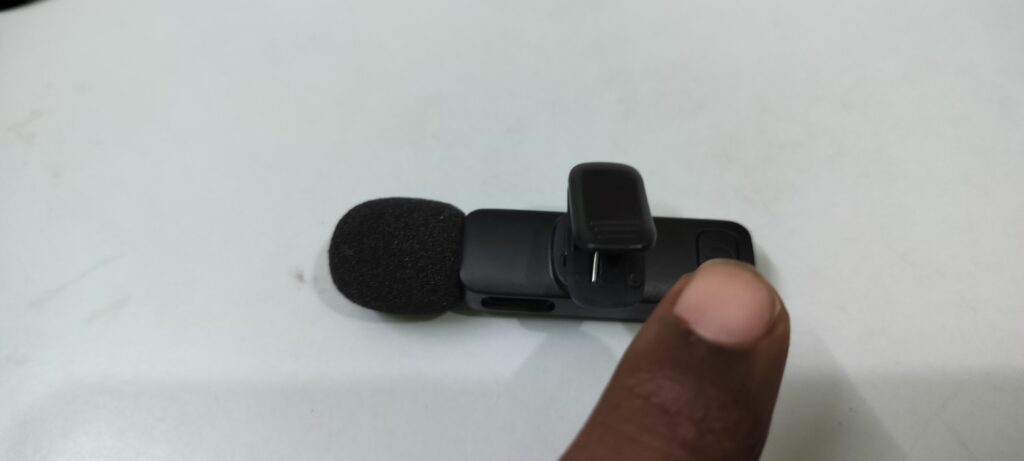
3. To power on the microphone, simply press the dedicated power button located on the mic itself. Upon doing so, you will notice the indicator light turning green, indicating that the microphone is now powered on. At this point, the microphone is successfully paired with your phone, ready to capture your voice with clarity and precision. With just a simple press of a button, you are now equipped to embark on your recording journey.
4. Once the receiver is connected and properly paired, the indicator light on the receiver will remain illuminated in a constant red color. This indicates that the receiver is actively connected and ready to transmit audio signals. To begin utilizing the microphone, open your phone’s camera application or any live streaming app that supports external microphones. By selecting the microphone as the audio input source within the app, you can seamlessly capture high-quality sound in real-time, enhancing your recording or streaming experience. The receiver’s steady red indicator light assures you that the microphone is functioning flawlessly, ready to deliver exceptional audio performance.
Microphone Transmitter Indications:
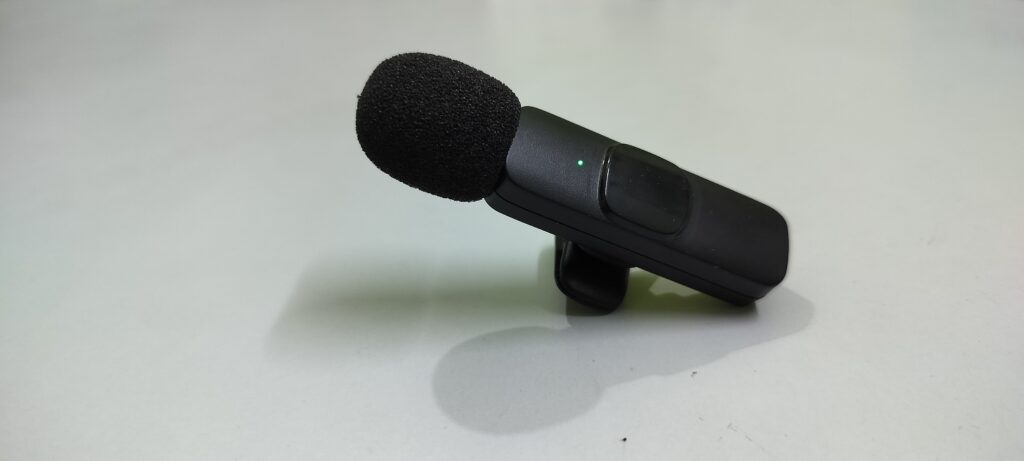
| Function | How to Use | Light |
|---|---|---|
| Power ON | Press the Power Button Once | Green Light ON |
| Power OFF | Long pres atleast 3 seconds | Light OFF |
| Pairing | — | Red and green light flash alternativerly |
| Paired | — | Green light keeps ON |
| Pause | Press power button once | The green light flashes slowly |
| Low Battery Alaram | Power on state | The red and green lights come on every 10 seconds |
| Charging | Charging with cable | The red light goes out when it is fully charged |
- To power ON the device, simply press the switch key once, triggering the activation of the green light. This illuminating green light signifies that the device is now powered on and ready for use. With a single press of the switch key, you can effortlessly turn on the device and embark on your audio journey with confidence.
- To power OFF the device, perform a long press on the switch key for at least 3 seconds. This extended press will initiate the shutdown process, causing the device to turn off completely. As a result, all lights on the device will simultaneously switch off, indicating that it is now powered down. By following this simple procedure, you can easily power off the device and conserve its battery life.
- To establish a pairing between the transmitter and receiver, begin by switching on the power button located on the transmitter microphone. As you do so, the indicator light on the transmitter will start blinking alternatively in red and green. This blinking pattern indicates that the transmitter is in pairing mode and actively seeking connection with the receiver. Once the pairing process is successful, the blinking pattern will cease, confirming that the transmitter and receiver are successfully paired and ready to work together seamlessly.
- To determine if the pairing process is successful, you can simply check the status of the green light. If the green light remains consistently illuminated, it indicates that the transmitter and receiver are successfully paired and connected. This continuous green light serves as a reliable visual indicator, assuring you that the devices are in sync and ready to deliver optimal performance. By observing the steady green light, you can confidently proceed with your audio recording or broadcasting tasks.
- To temporarily pause the microphone recording, press the power button once. As a result, the green light will begin to flash slowly. This slow flashing green light serves as a visual cue, indicating that the microphone recording is currently in a paused state. By pressing the power button again, you can easily resume the recording process and the green light will return to its steady state. This convenient feature allows you to take breaks or make adjustments during your recording sessions without interrupting the overall workflow.
- When the battery is running low, the device will provide a warning signal by activating both the red and green lights every 10 seconds. This alternating pattern of red and green lights serves as an indication that the battery is nearing depletion and requires recharging. It is essential to take note of this warning and promptly recharge the device to ensure uninterrupted operation. By paying attention to the alternating lights, you can effectively monitor the battery level and take necessary action to maintain optimal performance.
- Upon completing a full charge, the red light will cease to illuminate. This absence of the red light indicates that the device is now fully charged and ready for use. By observing the absence of the red light, you can confidently confirm that the device has attained its maximum battery capacity, ensuring extended usage without the need for immediate recharging. This convenient visual cue allows you to conveniently monitor the charging status and ensures that you have a fully powered device at your disposal.
Microphone Receiver Indications:

| Function | How to Use | Light |
|---|---|---|
| Power ON | Plug in phone | Red Light ON |
| Power OFF | Plug OFF from phone | Light OFF |
| Pairing | — | Red light flash slowly |
| Paired | — | Red light ON |
- To power ON the device, simply connect it to your phone by plugging it in. Once connected, you will notice the red light on the device illuminating, indicating that it is now powered on and ready for use. This seamless connection between the device and your phone allows for easy activation, ensuring that you can start utilizing the device’s functionality without any delay.
- To power OFF the device, simply disconnect it from your phone by unplugging it. Once disconnected, the light on the device will turn off, indicating that it is now powered off. This straightforward process of detaching the device from your phone ensures a quick and convenient shutdown, allowing you to conserve its battery life when not in use. By unplugging the device, you can easily switch it off and preserve its power for future use.
- During the pairing process, the red light on the device will flash slowly. This slow flashing of the red light serves as a visual indicator that the device is actively searching for a compatible connection. As the device searches and establishes a successful pairing with the desired device or accessory, the flashing pattern may change or cease altogether. By observing the slow flashing red light, you can easily determine that the device is in pairing mode and ready to establish a connection.
- Once the pairing process is successfully completed, the red light on the device will remain steadily illuminated. This constant red light serves as a visual confirmation that the device is now paired and connected with the desired device or accessory. The consistent presence of the red light indicates a stable connection, allowing you to proceed with confidence, knowing that the devices are synchronized and ready to function together seamlessly.
Things to Know before use this Microphone:
- In the event that the receiver’s battery is running low, there is no need to charge the device separately. It can draw power from the connected phone itself. Therefore, if your phone has sufficient battery power, it will automatically provide the necessary energy to charge the receiver through the Type C port. Moreover, if your phone’s battery is also running low, you have the option to charge both the phone and the receiver simultaneously by connecting them through the Type C port. This convenient feature ensures continuous operation and eliminates the need for separate charging of the receiver, allowing you to maintain an uninterrupted recording experience.
- iPhone and Huawei phones offer a plug-and-play experience for recording, allowing you to seamlessly connect and use the device. However, for VIVO and Oppo phones, it is necessary to manually enable the OTG (On-The-Go) function in order to use the device. By enabling the OTG function on VIVO and Oppo phones, you can unlock their capability to connect with external devices such as the one in question, ensuring compatibility and enabling a smooth recording experience.
Benefits
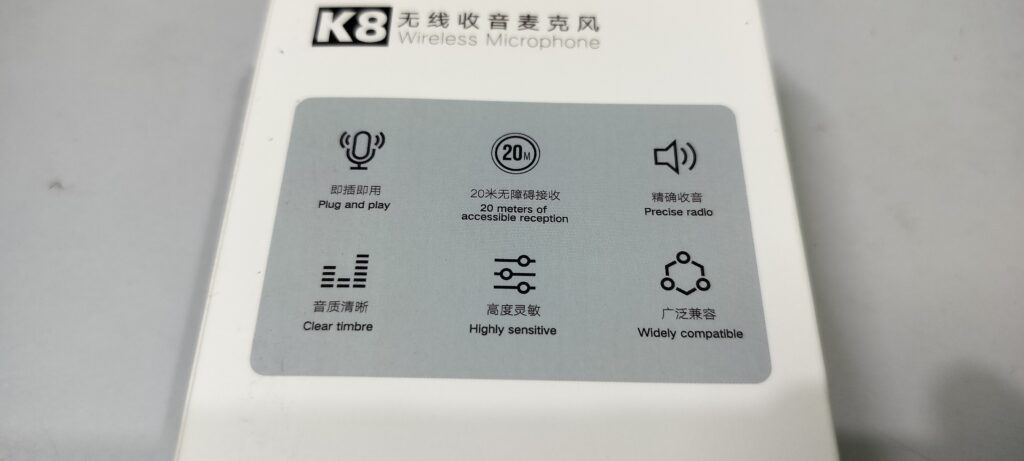
- The transmitter and receiver offer a reliable range of up to 20 meters between them. During testing, the device has proven its functionality and effectiveness within this 20-meter range. You can confidently utilize the device while maintaining a distance of up to 20 meters between the transmitter and receiver, ensuring optimal signal transmission and uninterrupted audio capture. This generous range allows for flexibility and freedom of movement during recording or broadcasting, providing you with a seamless and convenient user experience.
- The receiver device can be conveniently charged directly from your phone. By connecting the device to your phone through the appropriate charging port, you can easily replenish its battery power using your phone’s battery as a power source. This eliminates the need for separate charging cables or adapters, offering a streamlined and convenient charging solution. With the ability to charge the device directly from your phone, you can ensure continuous operation and maintain optimal power levels wherever you go.
Uses:
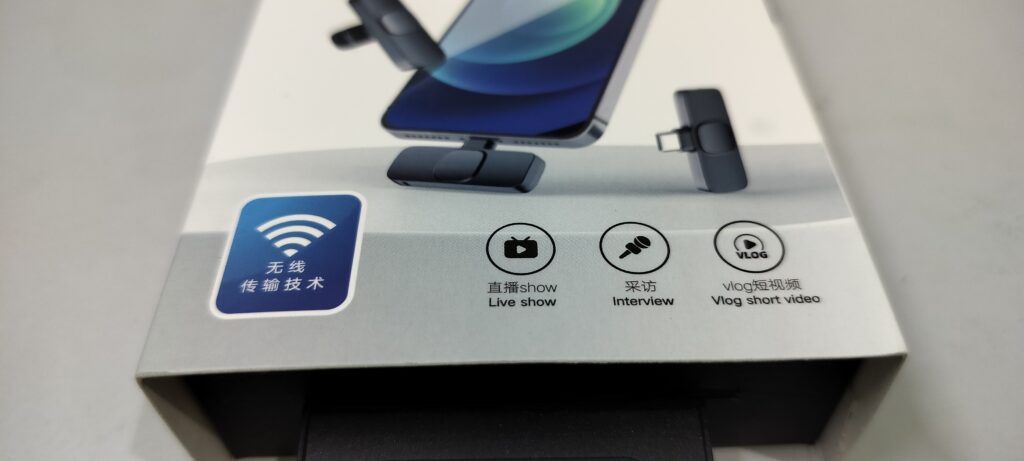
- This versatile device is suitable for a wide range of applications, making it ideal for live shows, interviews, recordings, podcasts, vlogging, and more. Whether you’re hosting a live event, conducting interviews, capturing audio for podcasts, or documenting your vlogging adventures, this device has you covered. Its flexible functionality ensures excellent sound quality and reliable performance across various scenarios. With this device in your arsenal, you can confidently tackle any audio-related task, creating professional and engaging content for your audience.
Compatible Devices:
- This microphone is compatible with a wide range of devices, including smartphones, laptops, and tablets. Whether you’re using an iPhone or Android smartphone, a Windows or Mac laptop, or an iPad or Android tablet, you can easily connect and utilize this microphone without any compatibility issues. Its versatility allows you to seamlessly integrate it with your preferred device, ensuring that you can capture high-quality audio for various purposes, be it recording videos, conducting virtual meetings, or engaging in creative projects. With its broad compatibility, this microphone offers convenience and flexibility across different platforms.
Drawbacks:
- While the microphone offers functionality, it is worth noting that the sound quality may not be optimal. In an attempt to filter out background noise, the noise reduction feature sometimes alters the noise itself, resulting in a sound reminiscent of someone speaking from a well. This phenomenon can impact the overall audio experience and may not meet the desired quality standards. It is important to consider this aspect when evaluating the microphone’s performance, especially if clear and unaltered sound reproduction is a priority for your specific recording or broadcasting needs.
- Another limitation of this microphone is that users with OnePlus, Vivo, and Oppo phones may encounter compatibility issues with the stock camera application. To overcome this, they would need to download and use alternative camera applications that are compatible with the microphone. This additional step adds an extra layer of inconvenience for users of these phone brands, as they have to rely on third-party camera apps to fully utilize the microphone’s capabilities. It is important to consider this factor if you own a OnePlus, Vivo, or Oppo phone and prioritize using the stock camera application for your recording or broadcasting needs.
- Furthermore, another issue that arises when using alternative camera applications is the potential for audio and video synchronization problems. In some cases, the audio captured by the microphone may not perfectly align with the corresponding video footage when using these third-party camera apps. This mismatch can result in a less-than-ideal viewing experience, as the audio and visual elements may be out of sync, potentially compromising the overall quality of your recordings or videos. It is essential to be aware of this issue and consider the impact it may have on the final output when using the microphone with non-stock camera apps.
Can you buy this Microphone?
Based on our analysis, we do not recommend purchasing the K8 Wireless Microphone. When considering the available options within this price range, we found that wired microphones tend to offer better value. Therefore, we have decided to explore alternatives such as Boya and JPL wired microphones for testing purposes. Our upcoming article will feature a comprehensive review of these wired microphones, where we will share our findings and provide valuable insights for our readers. We believe that opting for wired microphones will offer a more reliable and satisfactory audio recording experience.

